Social Authentication is very useful for sites where you want to allow and encourage user registration. By using trusted external services from providers where users already have an account, users can register and login to your site without having to create yet another password, and this can significantly reduce friction to registering on your site.
For example here on cloudscribe.com we want to encourage users to register because it gives us a measure of how interested people are in cloudscribe components. So we have multiple social authentication providers enabled, which can be seen on our registration and login pages, as shown in the screenshots below.
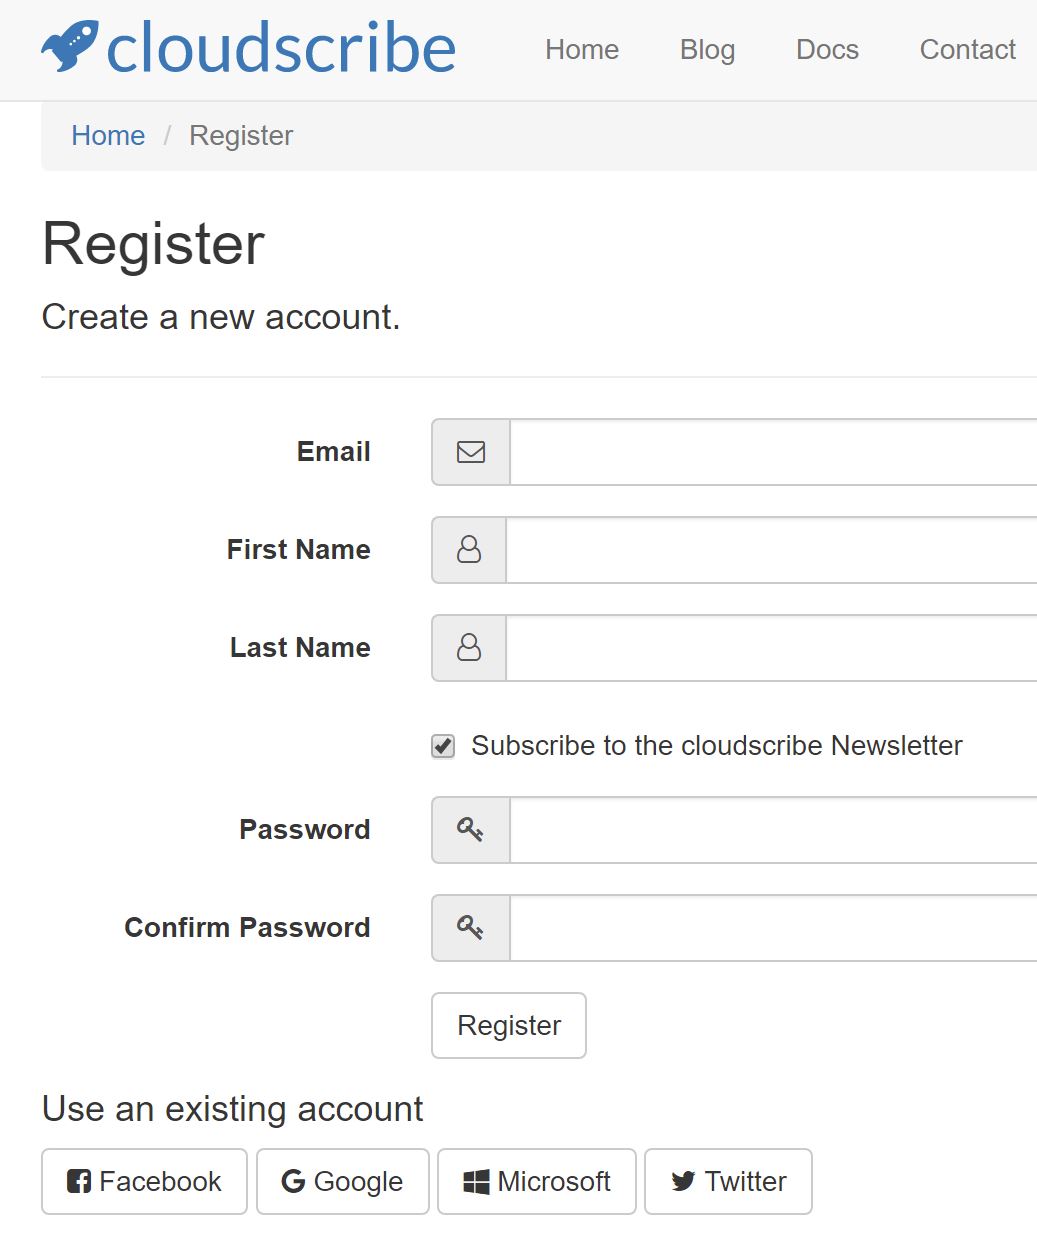

Users who already have accounts at those services can login to the site using their existing account at one or more of those services. After a user registers, they can still optionally add a local password to their account if they want to from their account settings. Also users who have already registered with a local password can optionally add social logins to their account from their account settings. To get to account settings, users just need to click the welcome message or the avatar/gravatar icon shown in the top navigation area of the page after you login.
Note: if you have configured a multi-tenant cloudscribe site to use RootUserCanSignInToTenants mode, administrators from the root site should always use username/password authentication in tenant sites, as social authentication will not work correctly for these users when in this mode.
How to Setup Social Authentication in cloudscribe Core
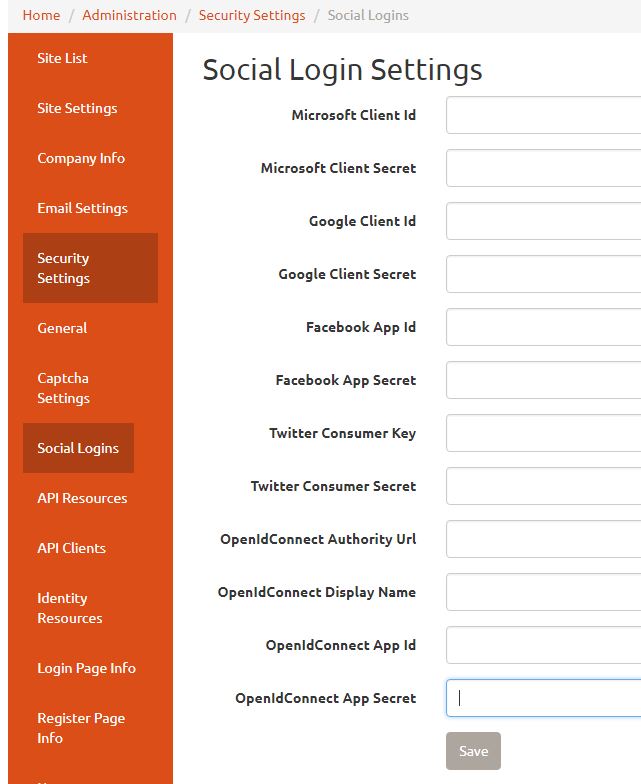
To enable social authentication you need to establish API credentials at one or more of the supported service providers and enter the credentials in the administrative user interface found under Administration > Social Logins
Where to Get API Credentials
- For Microsoft you need to go to the Application Registration Portal, see also the documentation here for details about how to configure your web application at Microsoft. NB this method is now deprecated, though it should continue to work for applications previously registered in this way. For new app registrations, use Microsoft Entra ID (formerly Azure Active Directory) in line with the OpenId Connect instructions below.
- For Google you need to use the Google API Console, see also the documentation here about how to set things up in google api console.
- For Facebook, you need to go the Facebook for Developers site, see also the documentation here.
- For Twitter, you need to go to https://apps.twitter.com/, see also the documentation here.
Note that the "documentation" links in the list above go to the Microsoft documentation for setting up social authentication in ASP.NET Core. I linked to those because they give good details about how to setup your credentials at the various providers. Those articles also show how to wire things up in the Startup.cs file of your application, but you don't need to do any of that with cloudscribe Core, that is already wired up for you, you only need to enter the api credentials in the UI and then the social login buttons will appear on the registration and login pages.
Using OpenId Connect
OpenId Connect is more open ended, and you can use any service that implements the OpenId Connect protocols (such as Microsoft Entra ID / Azure AD). cloudscribe Core has optional integration with IdentityServer4 which implements the OpenId Connect protocols, so you can actually use one installation of cloudscribe that has the IdentityServer4 integration to enable authentication in other installations of cloudscribe Core by setting up the client credentials for IdentityServer4. In other words, a cloudscribe Core installation with the IdentityServer4 integration, can be an Identity Provider for other installations of cloudscribe Core or any client applications that can use OpenId Connect authentication. This can be very useful if you have multiple installations of cloudscribe and you want to have the same set of users across installations.
In the configuration of the 3rd party service, set the reply URL (aka Redirect URI) to https://yoursite.com/signin-oidc and set the front-channel logout URL to https://yoursite.com/signout-callback-oidc
Using OpenId Connect with Microsoft Entra ID (formerly Azure Active Directory)
Here are some brief notes on how to configure OIDC against Microsoft Entra ID (formerly Azure Active Directory), noting that Microsoft regularly change things so the exact method and words may differ. In the Azure Portal https://portal.azure.com go to Microsoft Entra ID, then App registrations. Use the New registration button, enter a descriptive name for your cloudscribe website, pick an appropriate option for the supported account types, choose 'Web' under the Redirect URI section and enter https://yoursite.com/signin-oidc (replacing yoursite.com with your domain, which could be a tenant in a multi-tenant cloudscribe site). Click Register.
Now looking at the details of the app registration, visit the Redirect URIs link and enter https://yoursite.com/signout-callback-oidc as the Front-channel logout URL (replacing yoursite.com with your domain). Also on this screen, tick the box for ID tokens (used for implicit and hybrid flows) and Save. (If this is not done, you are likely to see this in the error log: response_type 'id_token' is not enabled for the application on attempting to register or login with this method).
Copy the Application (client) ID value into the OpenIdConnect App Id setting in your cloudscribe site.
The OpenIdConnect Authority Url setting in your cloudscribe site should be set to https://login.microsoftonline.com/{your Directory (tenant) ID}/. The Directory (tenant) ID can be seen on the Overview page for your app registration. This setting will look something like https://login.microsoftonline.com/d5fe733d-6d61-4060-a35c-27f589675586/
For the OpenIdConnect Display Name setting in your cloudscribe site, enter a name that will be meaningful to end users when registering and signing in, such as 'Acme Corporation account'.
In the Certificates and Secrets section within your App registration (in the Azure Portal) click New client secret, enter the name of your website (this can be the same as the name of the registration, but it's only a label), choose an appropriate expiry period, and click Add. Immediately copy the resulting value, and paste it into the OpenIdConnect App Secret setting in your cloudscribe site. If you don't do this immediately, the secret will be hidden when you leave this section, and you'll have to do it again!
Enter openid,email,profile in the OpenIdConnect Scopes (comma separated) setting in your cloudscribe site.
Save the settings in your cloudscribe site (or tenant). On the registration and log in pages of your site/tenant, you should now see 'Use an existing account' and a button with the OpenIdConnect Display Name value that you entered in settings.